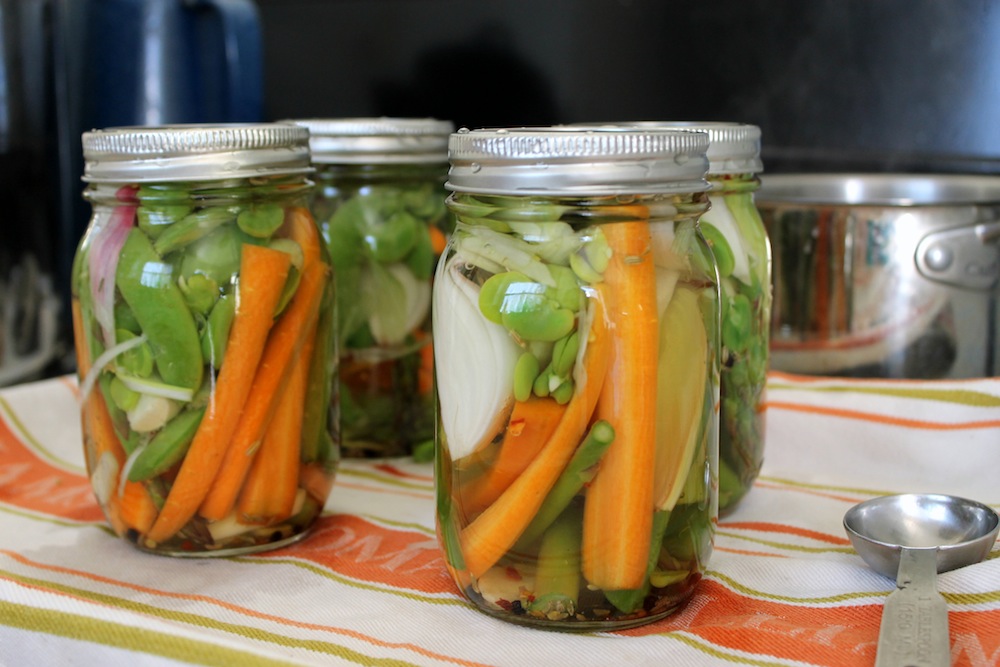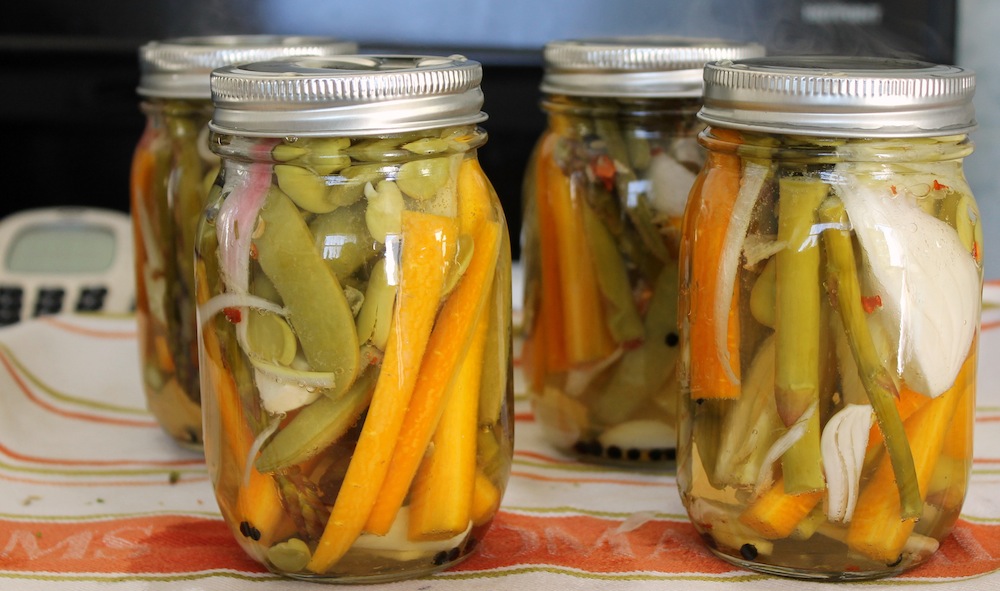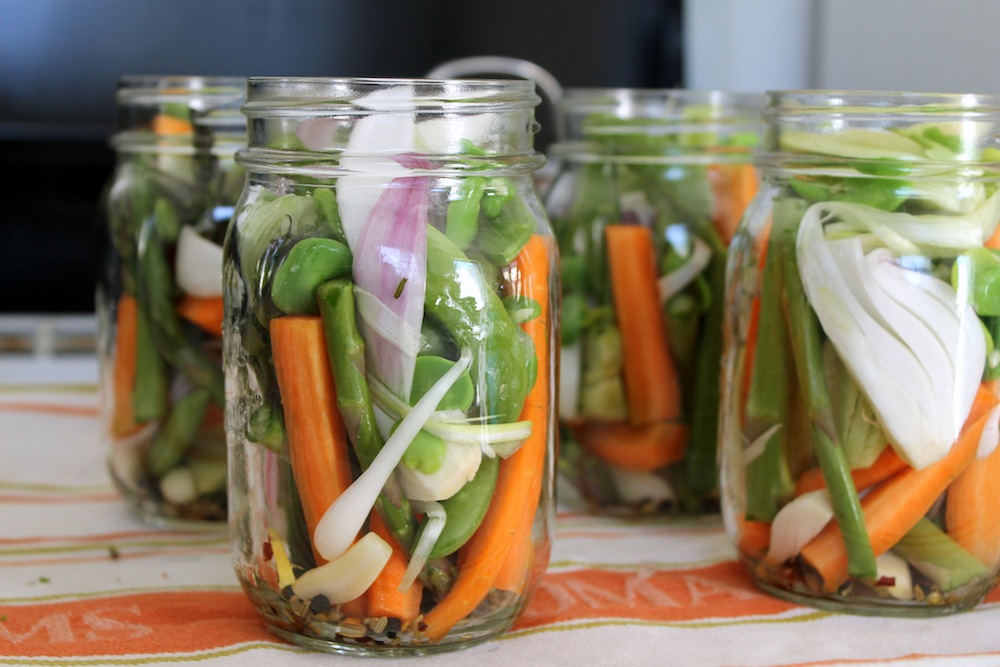
Canning is often thought of as a summertime activity, what with the bounty of fruits and tomatoes sure to head our way in a few short months. Yet the humbler spring produce now showing its face at farmers’ markets is still a fine—nay, great—object for preservation. I wouldn’t suggest trying to sort out asparagus jam, but these green stalks, as well as their seasonal friends, make glorious pickles. I like to stuff as many different spring goodies as I can get my hands on into a few good canning jars in order to save them for less exciting times (like, say, January). I’d suggest you do the same. Here’s how:
Before getting to work on the vegetables, it’s a good idea to prepare your jars for canning. I like to make pickles in pint jars because they’re big enough to hold sizable pickles, but they’re not so large that the pickles will go bad before you eat up the entire contents of the jar. (If you choose to use a larger jar, you will need to process the pickles an additional 5 minutes in the boiling water bath.)

Glass canning jars need to be boiled for at least 10 minutes in order to be considered sterile. For some canning projects, the items being processed in the boiling water bath will be in the water for 10 minutes or more; in those cases, the jars wouldn’t need to be sterilized. These pickles, however, only need 5 minutes in the boiling water bath in order to be shelf-stable, so it will be necessary to sterilize the jars before canning. To do so, place 4 pint jars on the rack of a canning pot or large stockpot and cover completely with water. Bring this water up to a full, rolling boil. Once it hits a boil, start your 10 minute timer. After the allotted time, turn the heat down to low, cover the pot, and let the jars sit in the hot water until you’re ready for them. They will remain sterile as long as they stay hot and submerged. To soften and sterilize the lids and bands, place four new lids and the accompanying bands in a medium-sized bowl. Ladle over some of the boiling water to cover. Let them sit until the vegetables and brine are ready.
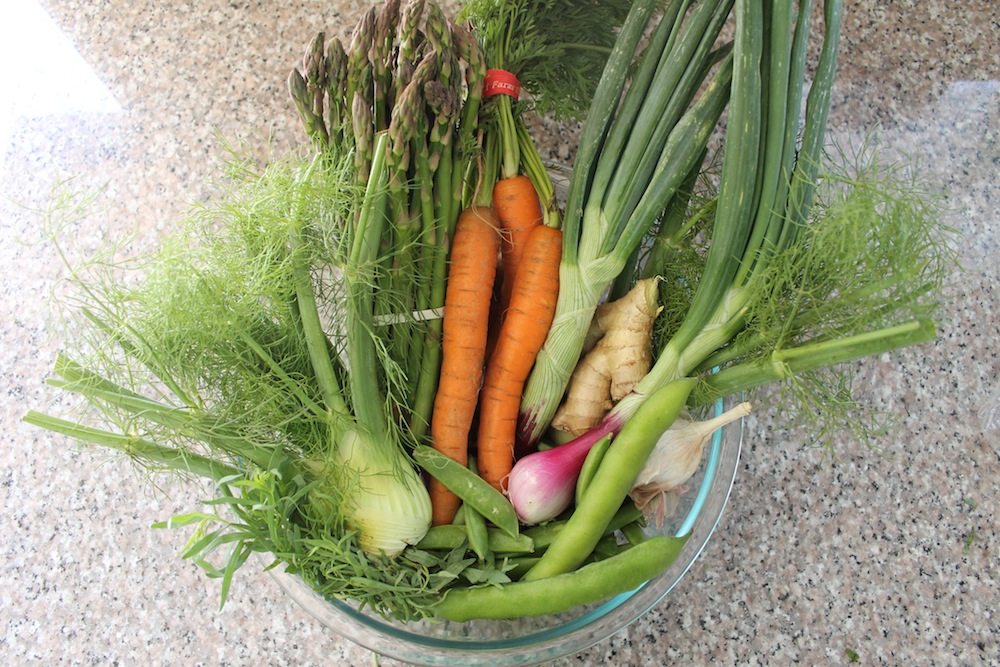
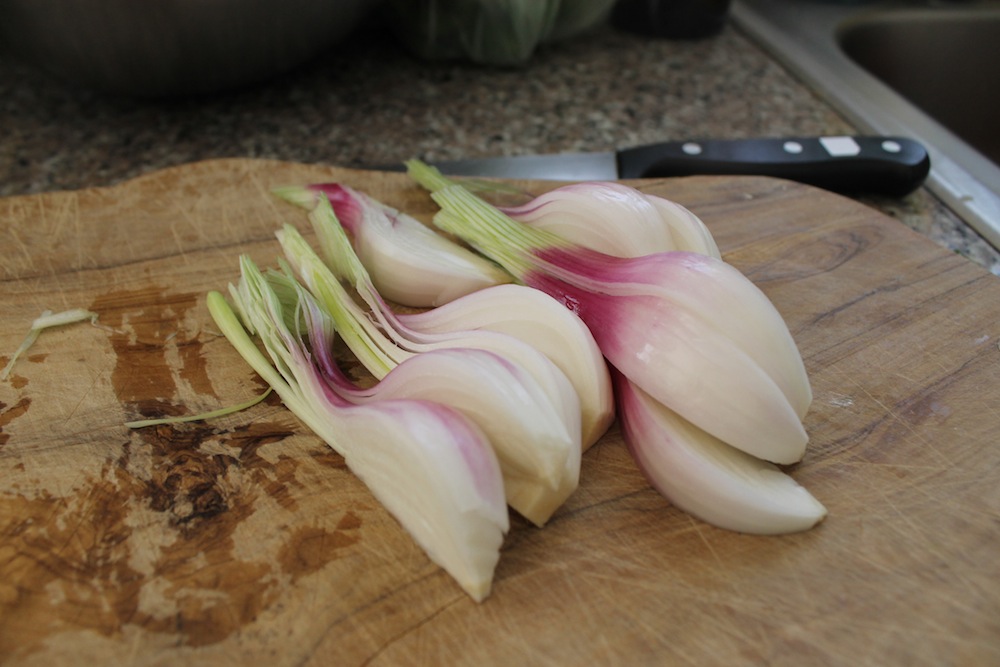
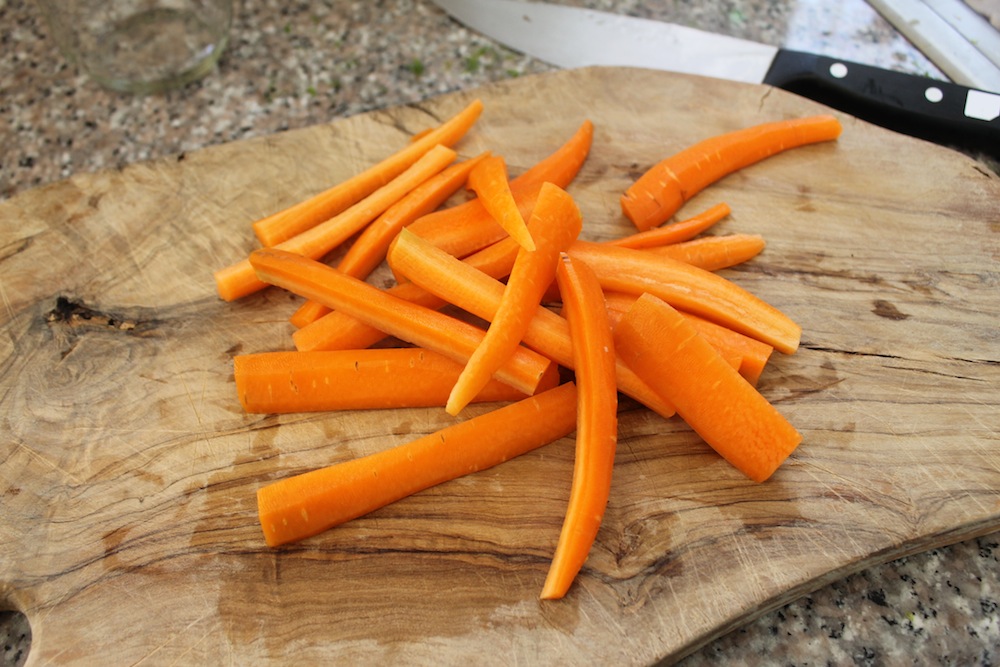
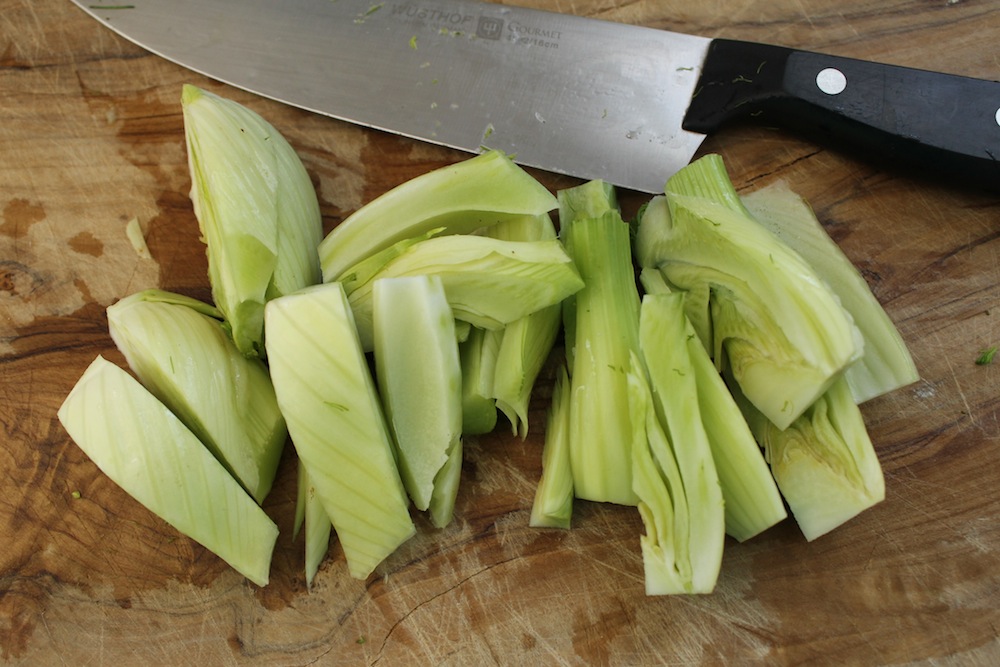
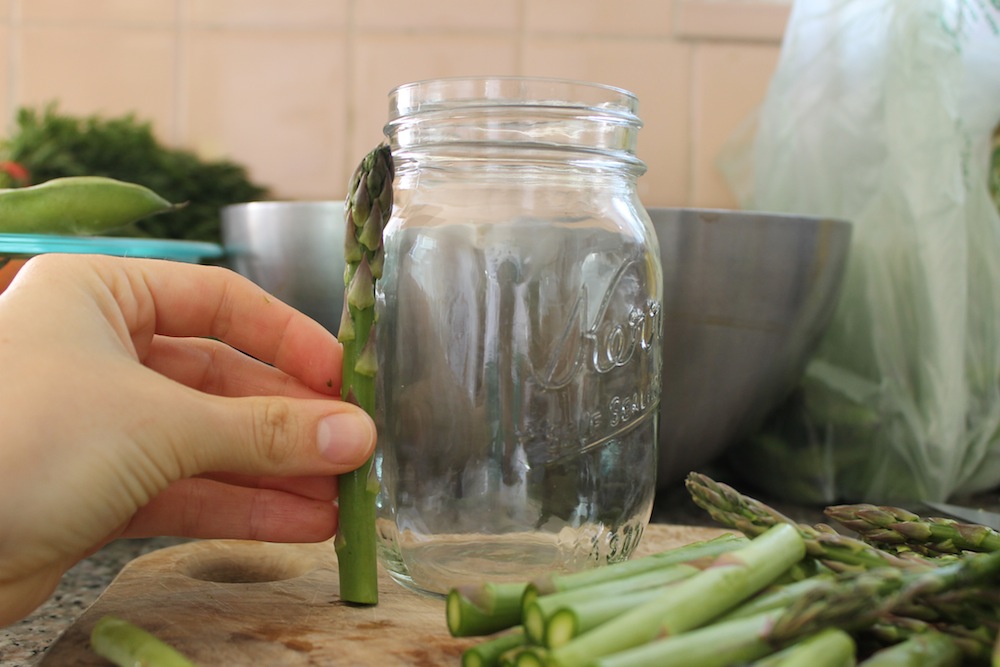
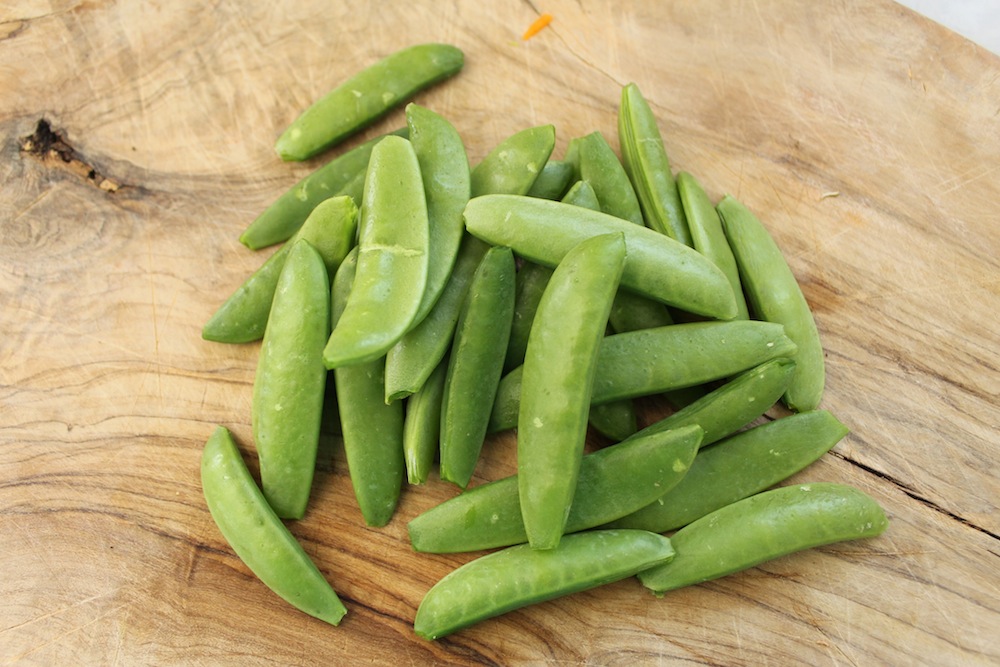
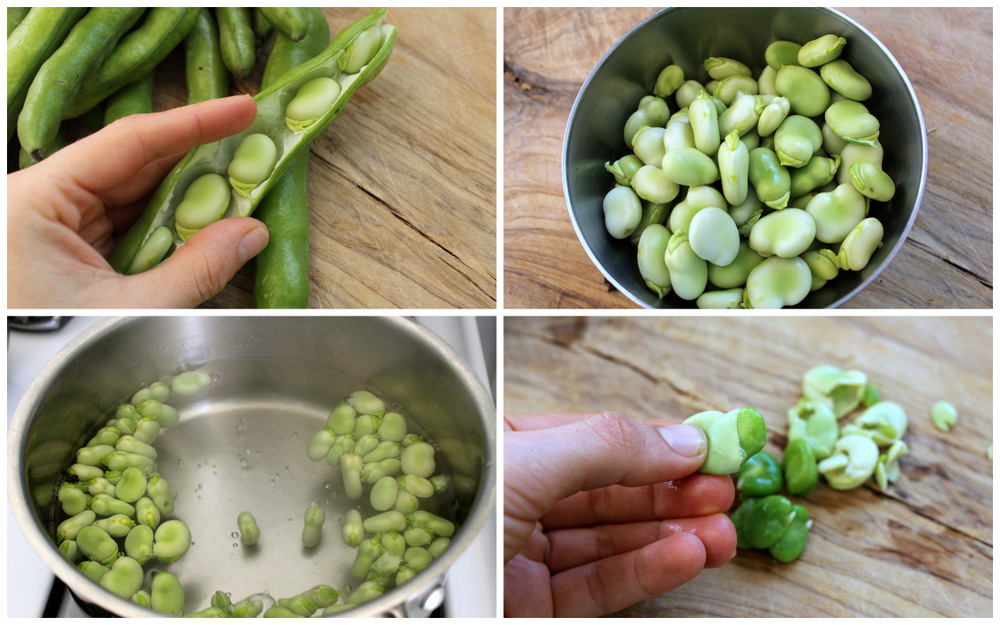
While you’re waiting for the jars to boil, get to work on the vegetables. You’ll need around 2 pounds of ready-to-eat vegetables for four pints of pickles. This means you’ll likely need to buy 2 1/2 to 3 pounds of whatever looks wonderful and fresh. Here, I’m using spring onions, carrots, fennel, asparagus, fava beans, and sugar snap peas. Depending on the vegetable, you’ll need to give it more or less attention. You can cut vegetables into any shape you’d like, but make sure to cut the vegetables into comparable sizes to ensure that they’ll pickle at the same rate. Also be sure to slice long vegetables, like carrots and asparagus, into thin spears so that they will fit upright in the jars. Take a look below to see how I’ve prepped by future pickles:
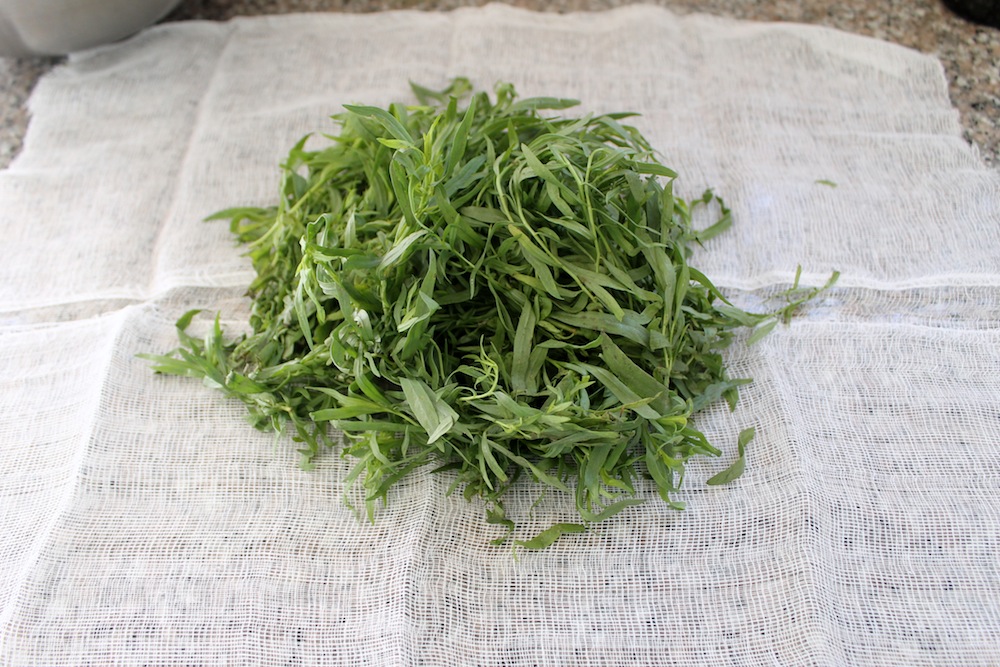
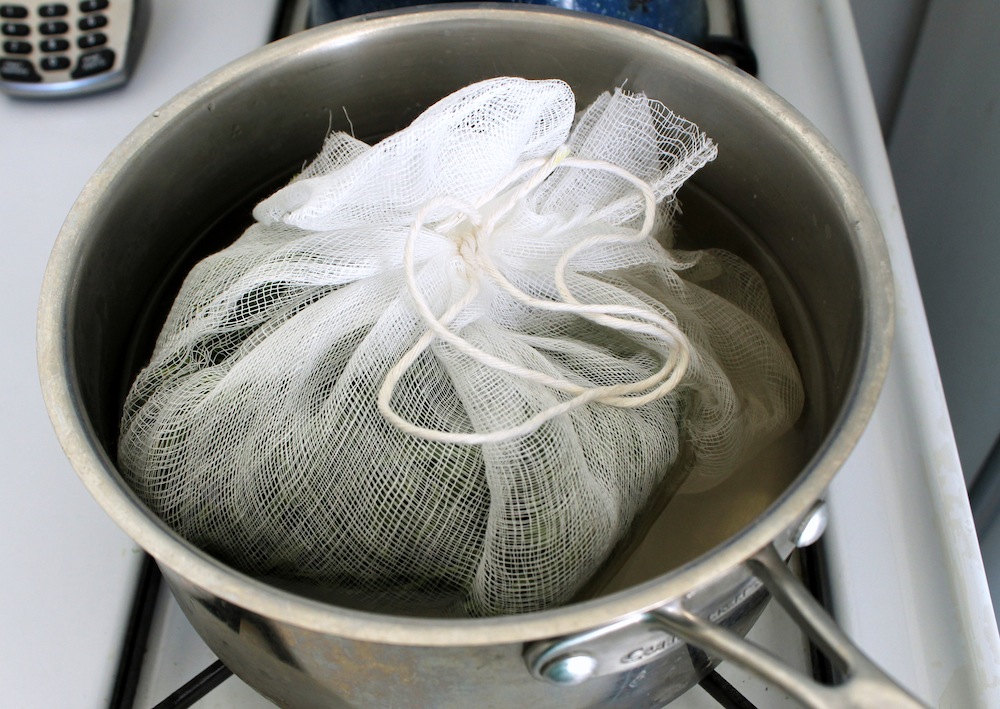
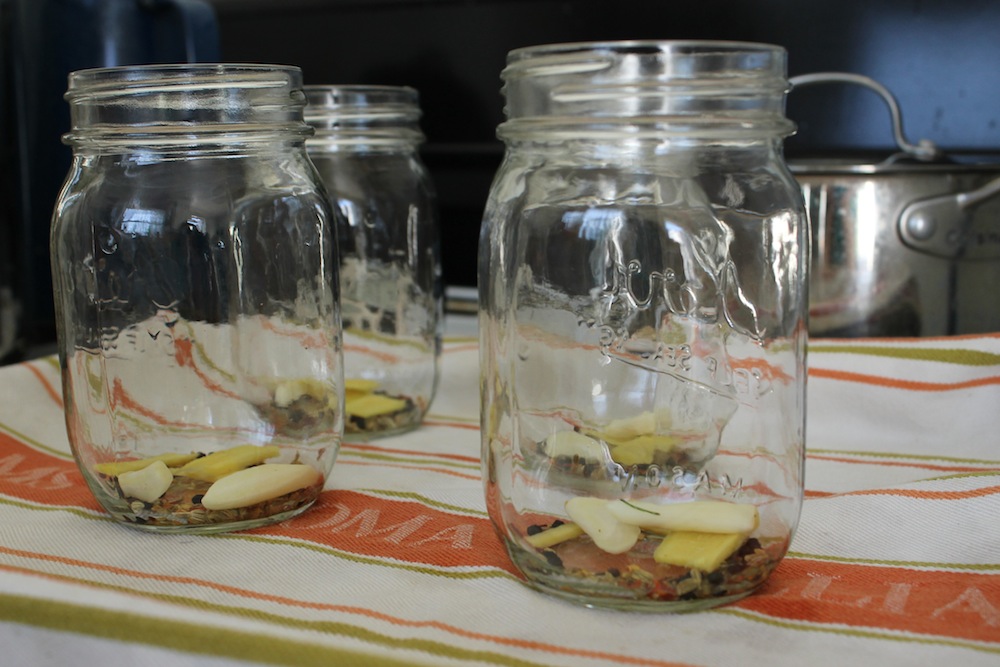
Next, prepare the brine. When I’m making pickles or other preserved foods, I like to think about the flavor accents that I would use if I were to say, sauté, these vegetables instead of pickling them. One of my favorite spring herbs is tarragon, which I like to pair with fennel seeds, garlic, ginger, and chile flakes.
