upper waypoint

Yes, You Can Make Great Non-Dairy Yogurt at Home

Save ArticleSave Article
Failed to save article

Please try again

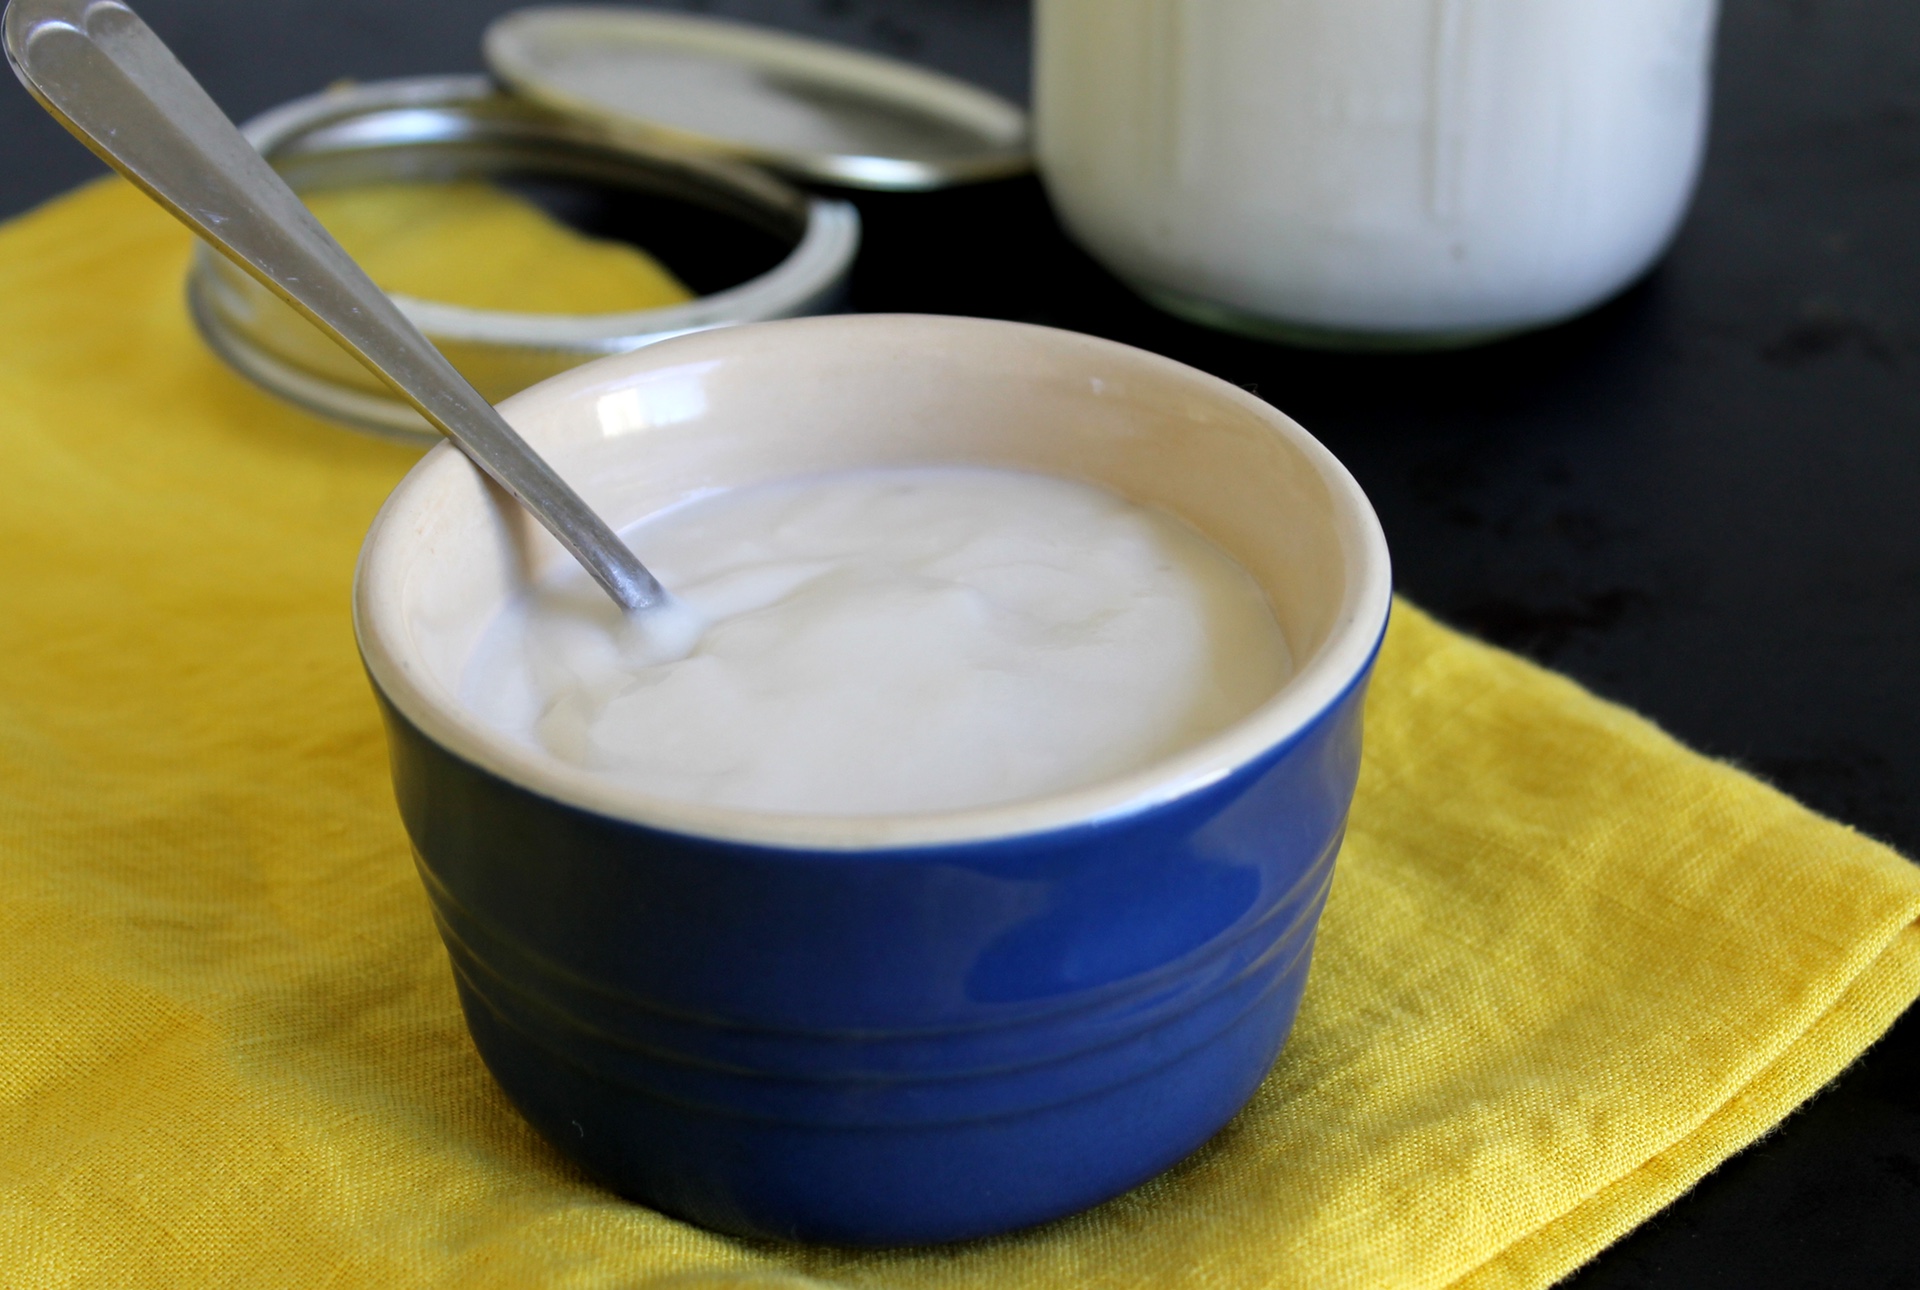
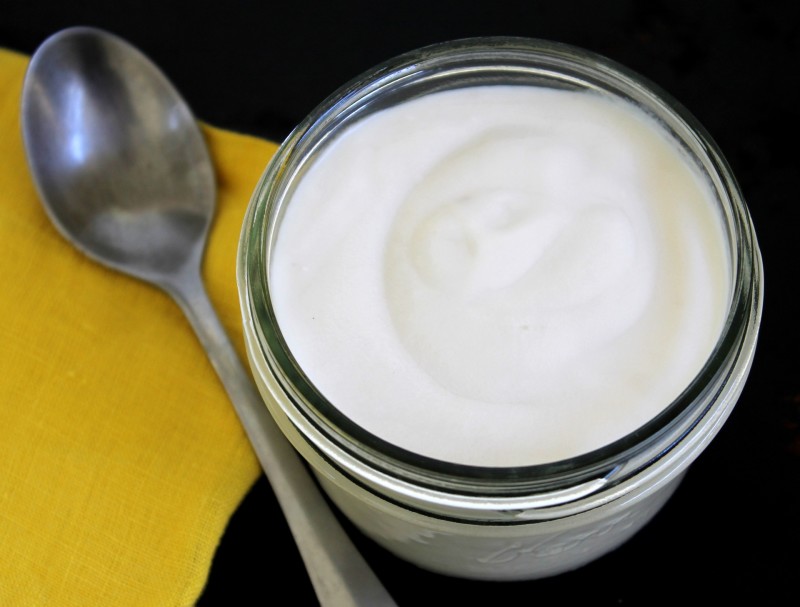
Homemade coconut and almond milk yogurt. (Kate Williams)

Non-dairy yogurt is tricky. The options available for purchase at most grocery stores suffer from too much sugar or an abundance of thickeners and stabilizers, and the one successful non-dairy yogurt I’ve tried is wildly expensive. These problems make sense, though — plant-based milks don’t have the same protein, sugar, and fat structure as cow’s milk and so they behave much differently when inoculated with yogurt cultures.

But these issues don’t mean that there isn’t a way to eat good, cultured non-dairy yogurt. You just have to make it yourself.

The process isn’t exactly easy, and it works best when you use homemade almond milk as part of the base. (I know, that means there are two recipes in one here. And yes, you could use a bottle of the higher-end additive free almond milks that are now becoming available in the Bay Area. I chose to use homemade nut milk because it is far cheaper.) But the results are so far beyond that which you can purchase in stores that I think the work is totally worth it.

Before beginning the recipe, you’ll need to order yogurt cultures online. Cultures for Health sells a vegan yogurt starter; if you’re not sensitive to dairy, you can also use a traditional yogurt starter from Cultures for Health or YoGourmet. I have read that others have been successful using the contents of probiotic capsules as a yogurt cultures, but I haven’t tried it myself. These capsules might be a good alternative for anyone with very specific food allergies and intolerances (Cultures for Health starters may contain gluten and soy; YoGourmet contains dairy and may contain soy). If you do try probiotic capsules, you will want to include the optional sweetener in the recipe. Non-dairy milks are low in sugar and the cultures need the sweetener to thrive. Both Cultures for Health and YoGourmet include some form of sugar in their starters.
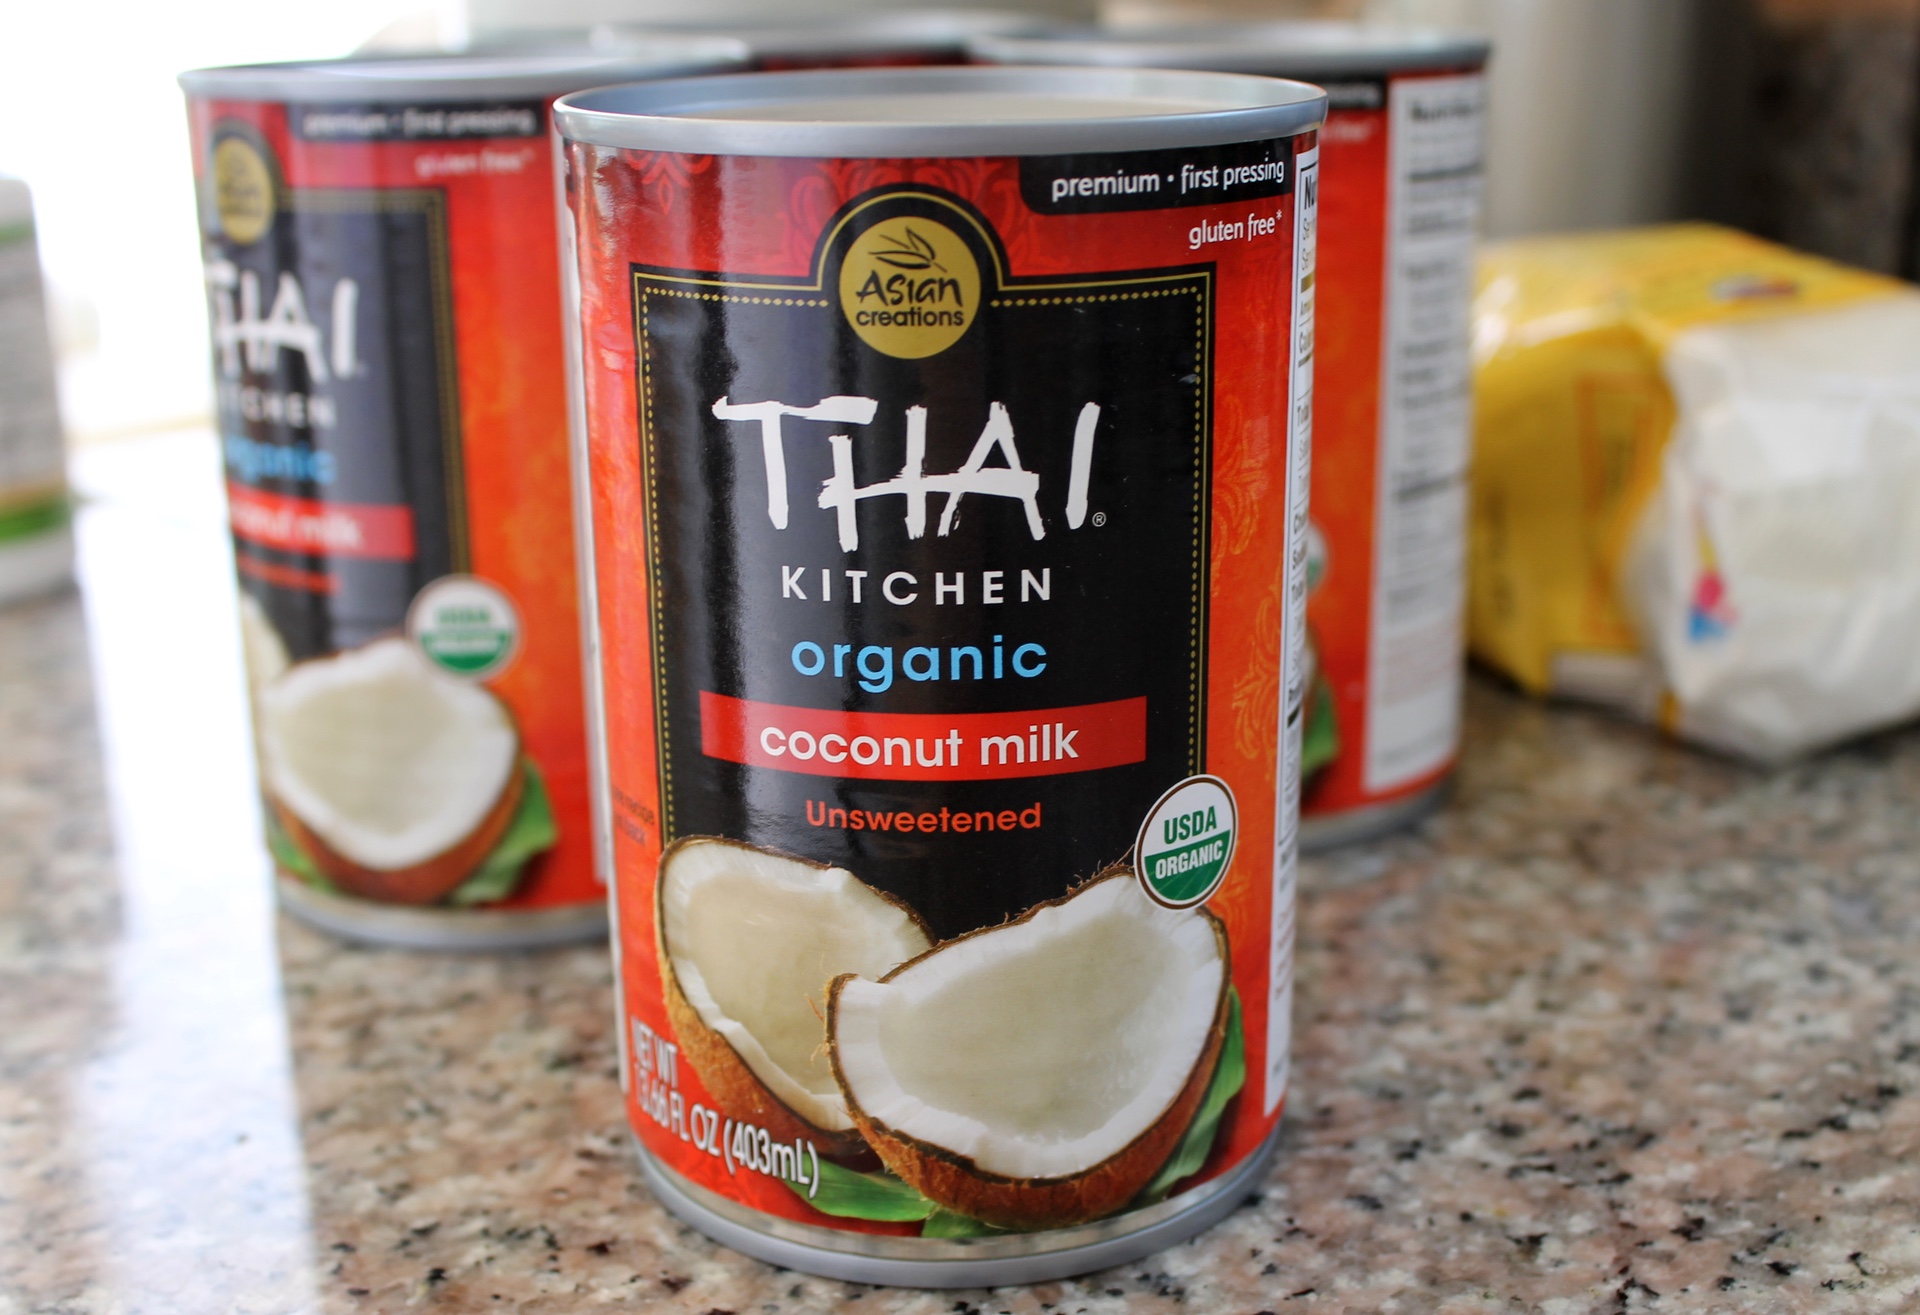
I like to use coconut milk as a base, and then add some almond milk to lighten things up.
I like to use coconut milk as a base, and then add some almond milk to lighten things up. (Kate Williams)

Next, the milk. When I performed my non-dairy yogurt taste test earlier this month, my favorite yogurt contained both coconut and almond milk, and I found that I preferred that blend in my homemade yogurt as well. You can make this recipe using all coconut or all almond milk, but the texture of the yogurt will change. If you plan on making an everyday yogurt with 100 percent coconut milk, you’ll want to thin it with water; I preferred using one 14-ounce can of full-fat coconut milk mixed with 1 1/2 cups water. It will be slightly lighter than the yogurt made with some almond milk. Yogurt made with two cans of coconut milk is very rich and decadent. It makes a good substitute for sour cream or creme fraiche, but I wouldn’t eat it with my granola.
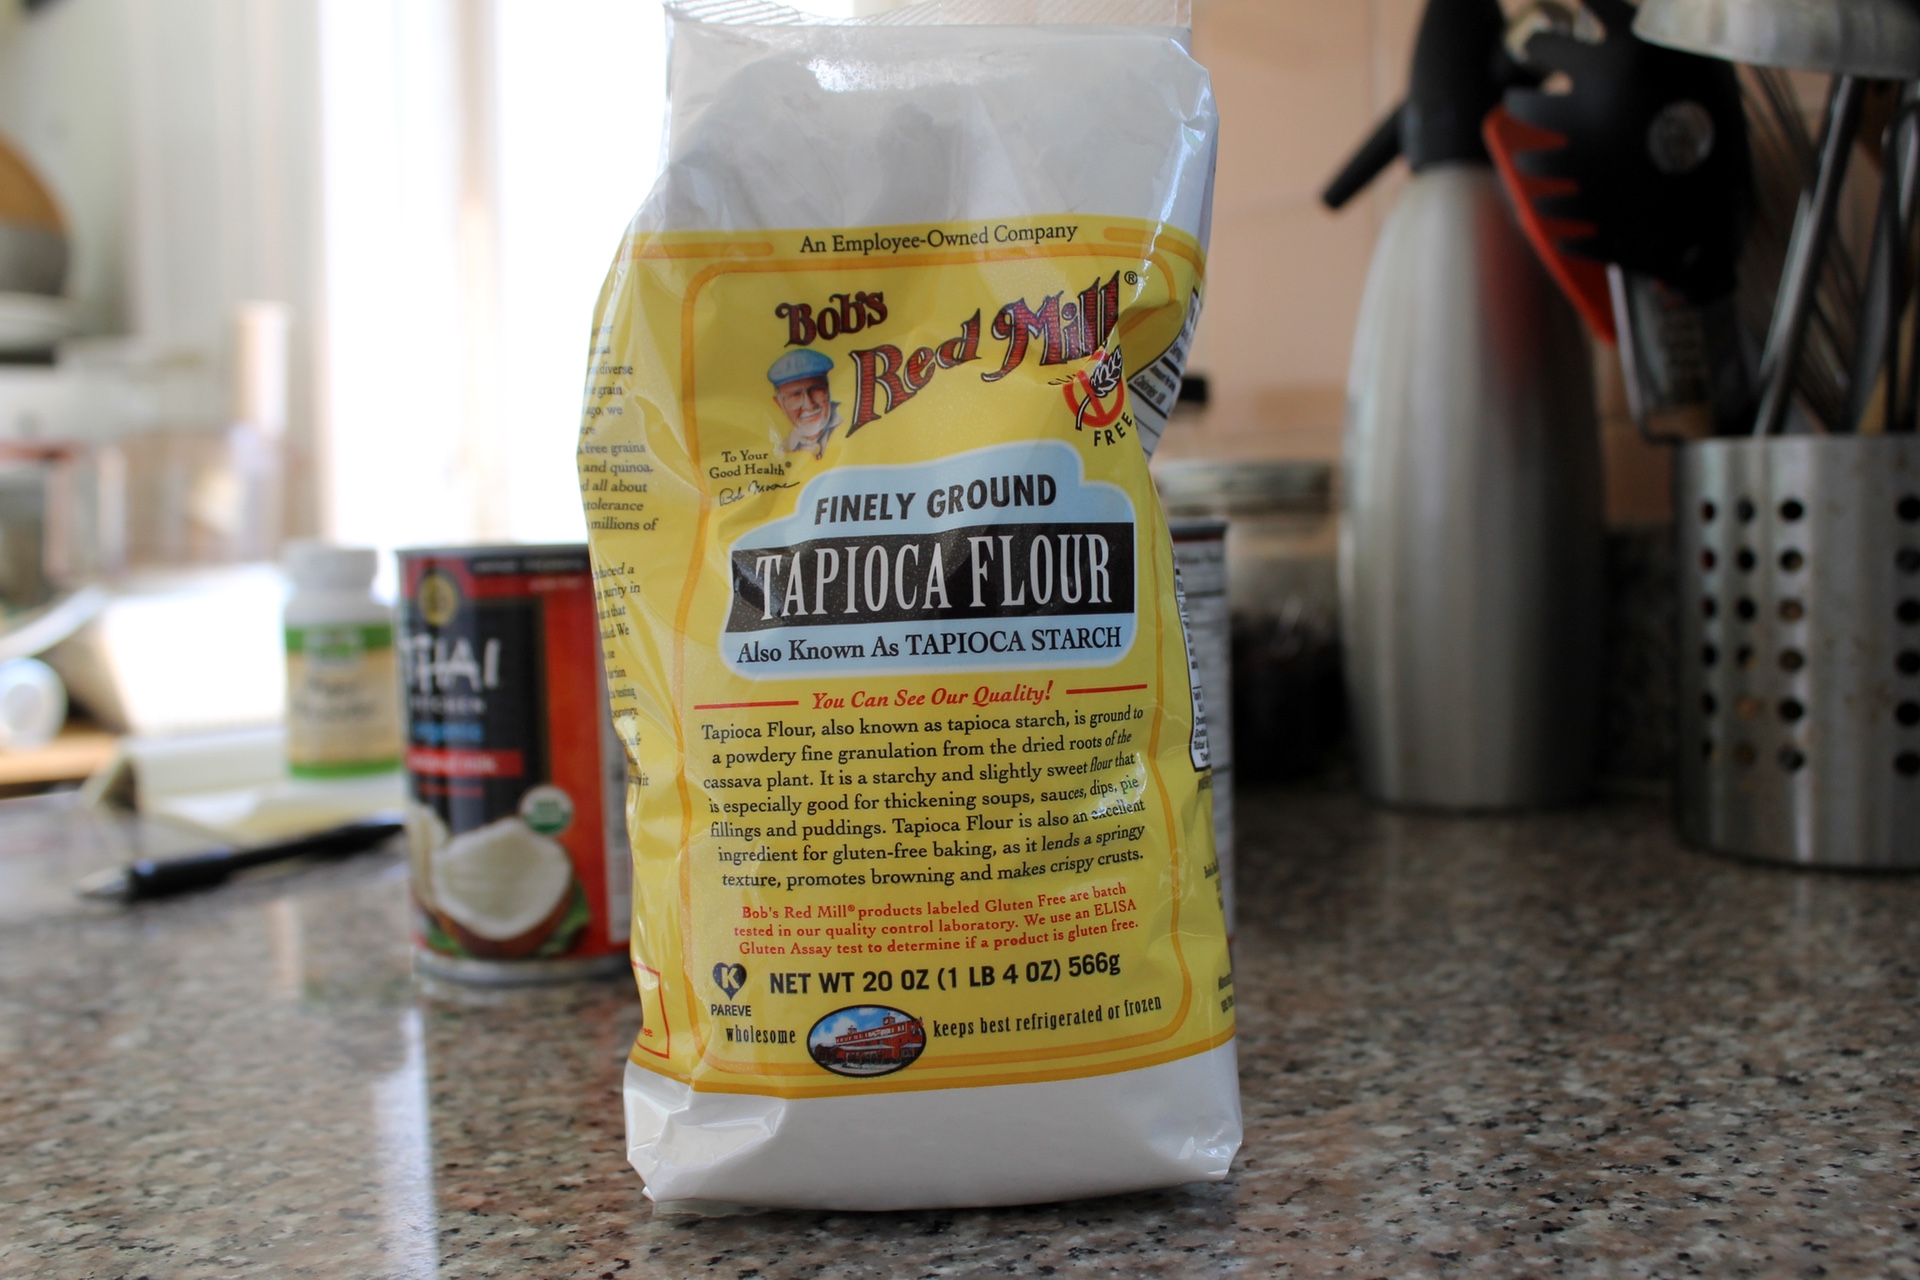
The key ingredient to thick, creamy non-dairy yogurt is tapioca starch (aka tapioca flour).
The key ingredient to thick, creamy non-dairy yogurt is tapioca starch (aka tapioca flour). (Kate Williams)

In addition to the cultures and milk, you will need to add a thickener. I was hesitant to add any sort of stabilizer because I found the texture to be off-putting in so many of my store-bought taste tests. However, coconut and almond milk won’t really thicken on their own.
Sponsored

Most non-dairy yogurt recipes online call for gelatin (a no-go for vegans), agar agar powder (tricky to use), or tapioca starch. I tried both agar and tapioca and had far greater success with tapioca.

Finally, I found that the yogurt cultured more reliably with a little extra sweetener. I don’t add enough that you can taste it in the final yogurt, but it is enough to give the cultures a little extra boost. Maple syrup works well, or you could use honey or even regular old sugar.

To make the yogurt, heat the coconut milk, almond milk and sweetener until the mixture is smooth and begins to steam (around 150 degrees). Next, mix in the tapioca.

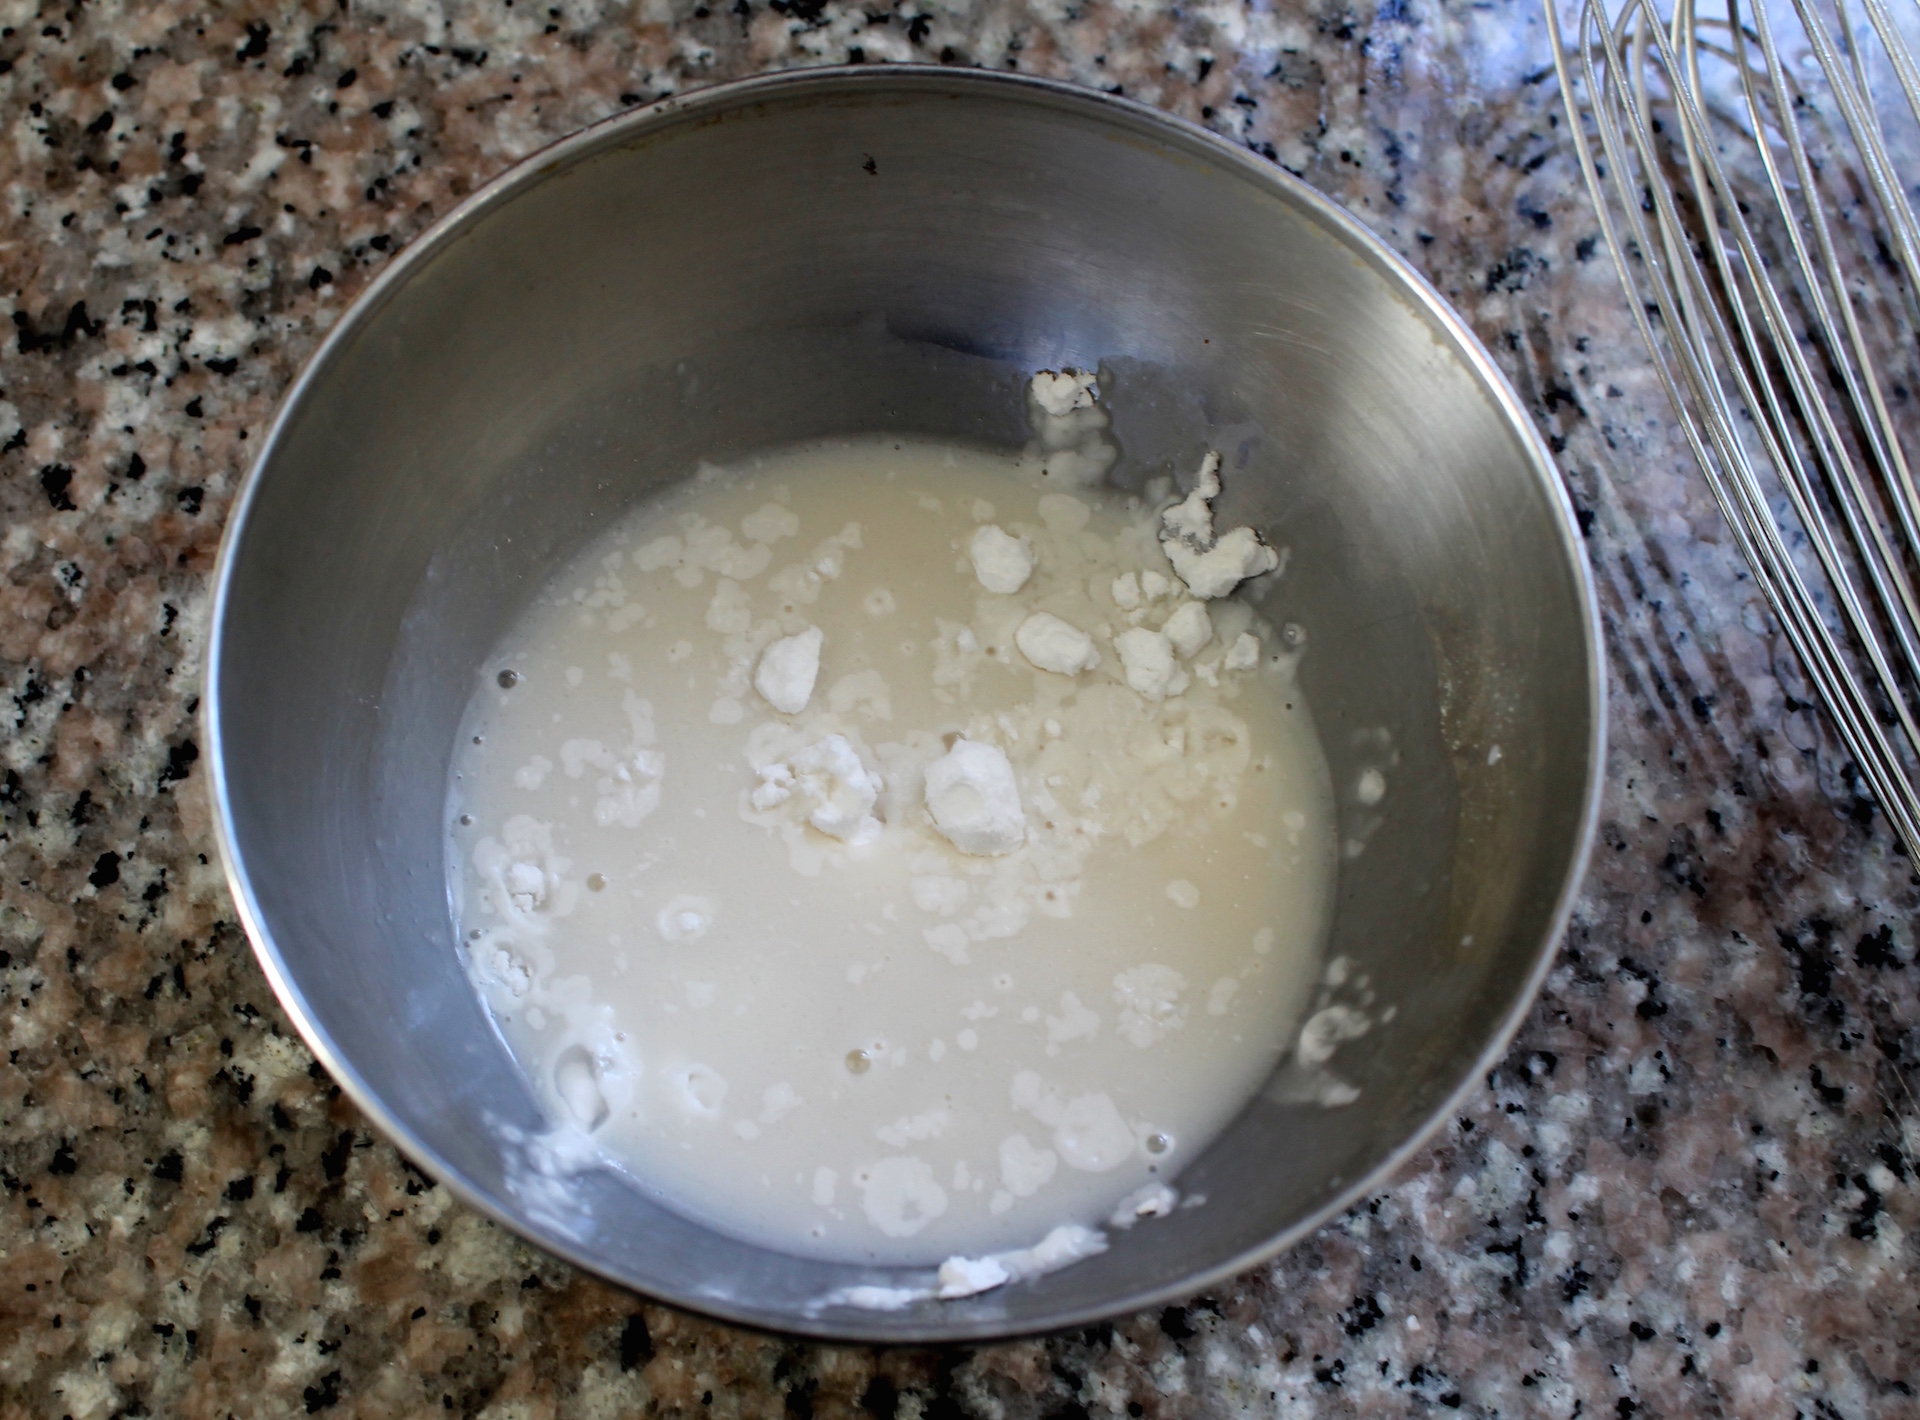
Tapioca needs to be stirred into a slurry before being added to the hot milk to keep the yogurt lump-free.
Tapioca needs to be stirred into a slurry before being added to the hot milk to keep the yogurt lump-free. (Kate Williams)

This starch tends to form lumps, so you’ll need to create a slurry before adding it to the pot of milk. I mix 1 1/2 tablespoons tapioca starch with about 1/4 cup of the hot milk in a small bowl and whisk very, very thoroughly. Then I whisk that mixture into the rest of the milk. Continue to heat the milk until it becomes noticeably thicker and reaches 180 to 185 degrees.

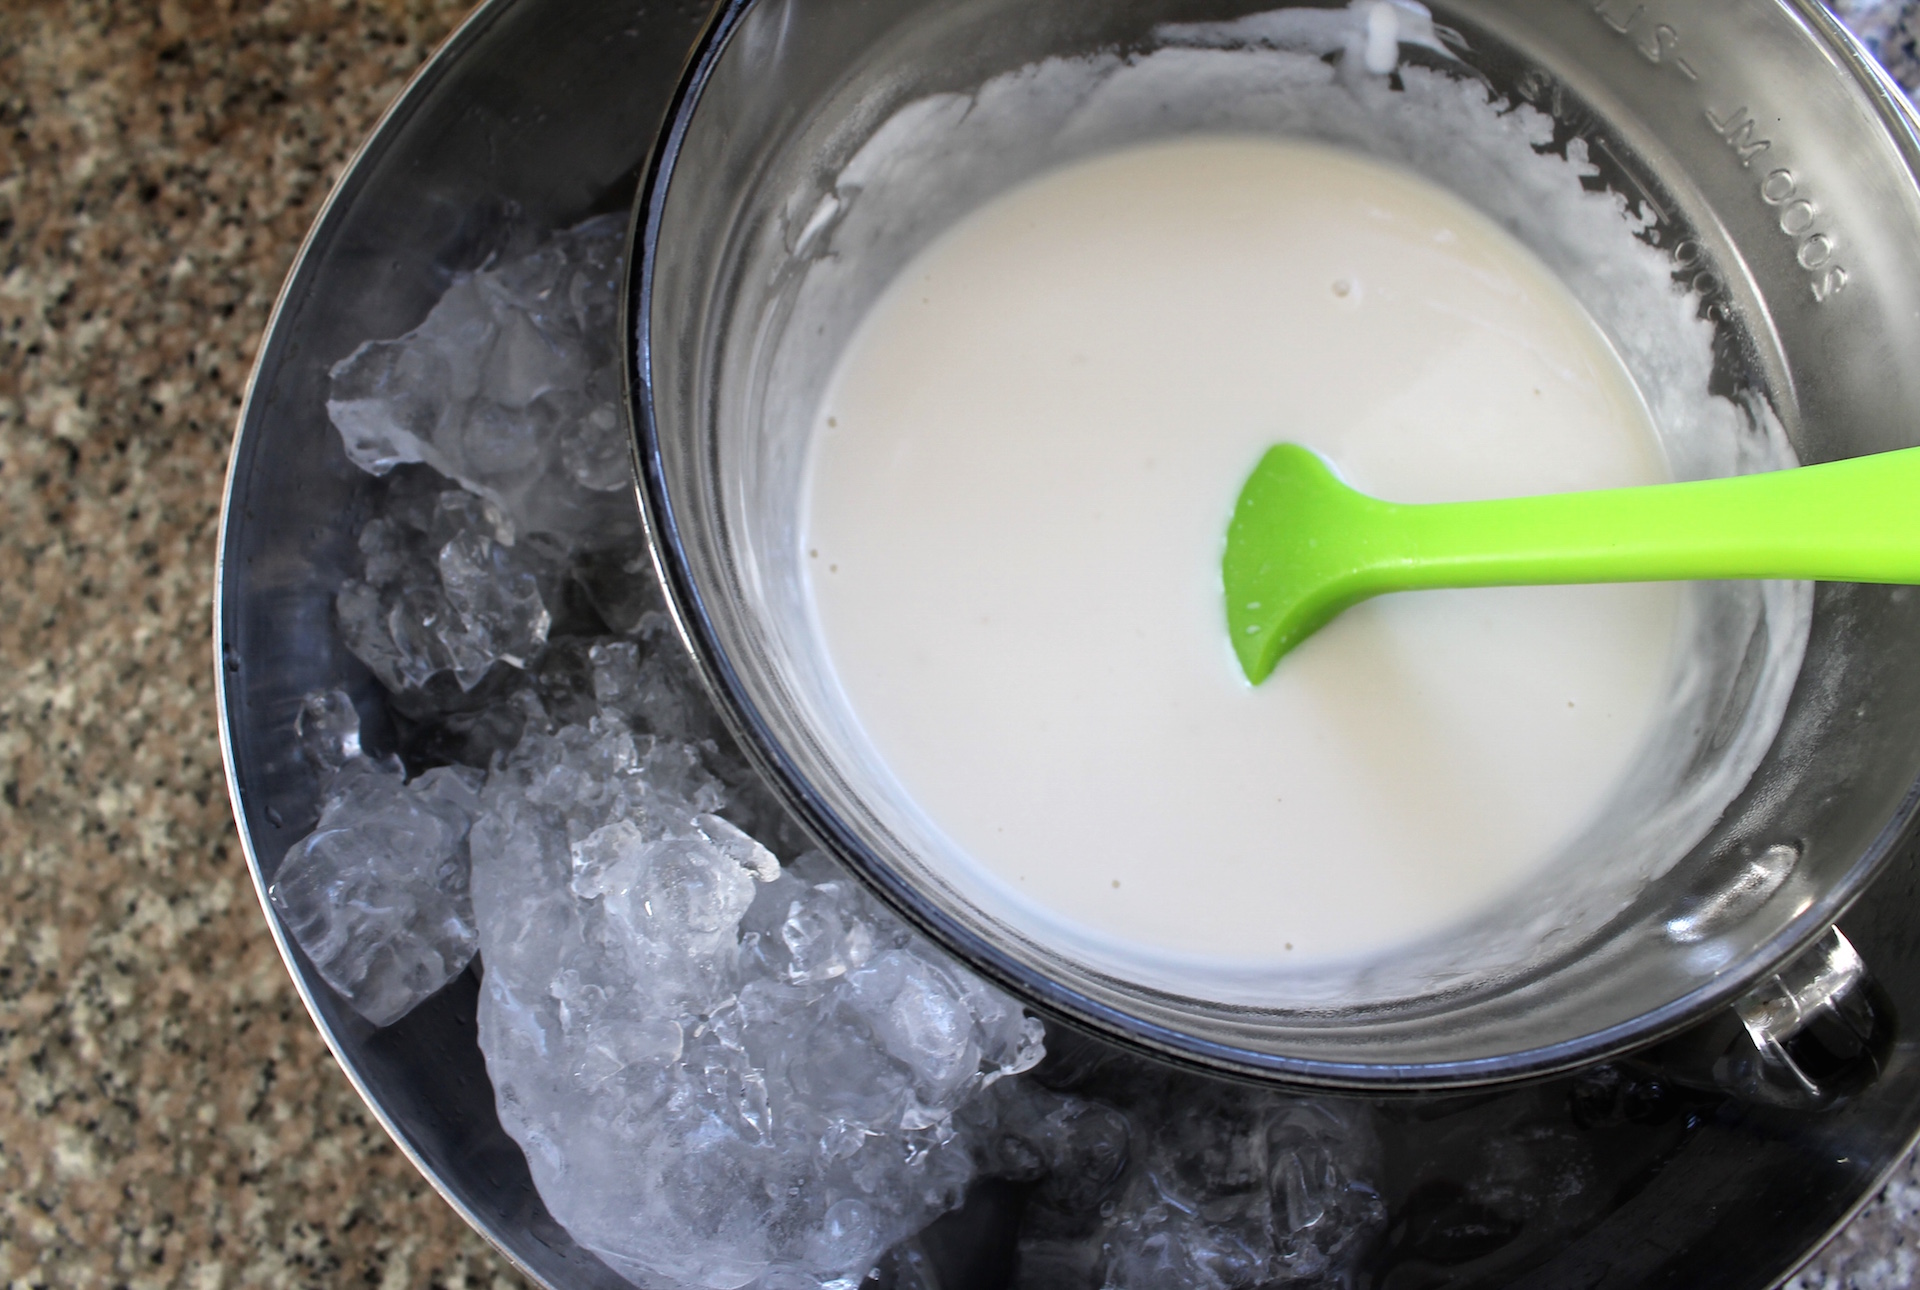
Then, just like when making dairy yogurt, the hot milk needs to cool down to the proper incubation temperature. The fastest way to cool the milk is in an ice bath. Keep an eye on the temperature and stir frequently. Once the milk reaches 115 degrees, remove it from the ice bath.

Cool the milk to the proper incubation temperature quickly by using an ice bath.
Cool the milk to the proper incubation temperature quickly by using an ice bath. (Kate Williams)

Finally, whisk in the powdered starter culture. Again, be sure to whisk well to eliminate any lumps. Transfer the milk to a glass jar and cover it with a clean kitchen towel. Since I’m using the same cultures as are used in dairy milk yogurts, I can incubate this version using the same method — I stick it in my oven with the light on and let it sit, undisturbed.

I found that this yogurt takes quite a while to culture properly; I leave it in the oven for at least 12 hours. After culturing, the yogurt is still a little thin, but will finish setting in the refrigerator. Give it a few hours to chill and you’re ready to eat.

Homemade coconut and almond milk yogurt.
Homemade coconut and almond milk yogurt. (Kate Williams)

Recipe: Homemade Coconut and Almond Milk Yogurt

Makes about 3 1/2 cups yogurt

Note: You can make this yogurt without the almond milk; substitute 1 1/2 cups of water or a second can of coconut milk (see above). Yogurt cultures are available through Cultures for Health or YoGourmet. Other recipe writers say that you can also use the contents of probiotic supplement capsules instead of a starter; start with the contents of four capsules and include the optional sweetener.

Ingredients:

  • 1 (14-ounce) can full-fat coconut milk
  • 1 1/2 cups homemade almond milk or other high-quality, unsweetened, additive-free almond milk
  • 1 tablespoon maple syrup, honey, or organic cane sugar (optional)
  • 1 1/2 tablespoons tapioca starch (also called tapioca flour)
  • 1 (5 gram) packet powdered yogurt starter

Sponsored

Instructions:

  1. Prepare an ice bath by filling a large bowl with ice water. Set a second large bowl, preferably with a spout, in the ice bath.
  2. Combine coconut milk, almond milk, and maple syrup in a medium saucepan over medium heat. Heat the milk, stirring occasionally, until it begins to steam and registers about 150 degrees on an instant-read thermometer.
  3. In a small bowl, combine about 1/4 cup hot milk with the tapioca starch. Whisk until very smooth. Slowly whisk tapioca mixture into the saucepan of hot milk. Whisk until very smooth.
  4. Continue to cook milk, stirring frequently, until it has noticeably thickened and registers between 180 and 185 degrees. Pour milk into the bowl set in the ice bath.
  5. Let milk cool, stirring occasionally, until it registers 115 degrees. Remove from the ice bath.
  6. Sprinkle yogurt starter over the surface of the milk. Whisk thoroughly until combined. Pour milk into a 1-quart glass canning jar and secure a clean kitchen towel over the top. Transfer jar to an oven and turn on the oven light. Place the jar close to the light. Let the yogurt sit, undisturbed until set, about 12 hours.
  7. Remove the towel from the jar and seal with a lid. Refrigerate until chilled, at least 4 to 5 hours. Serve.

lower waypoint
next waypoint