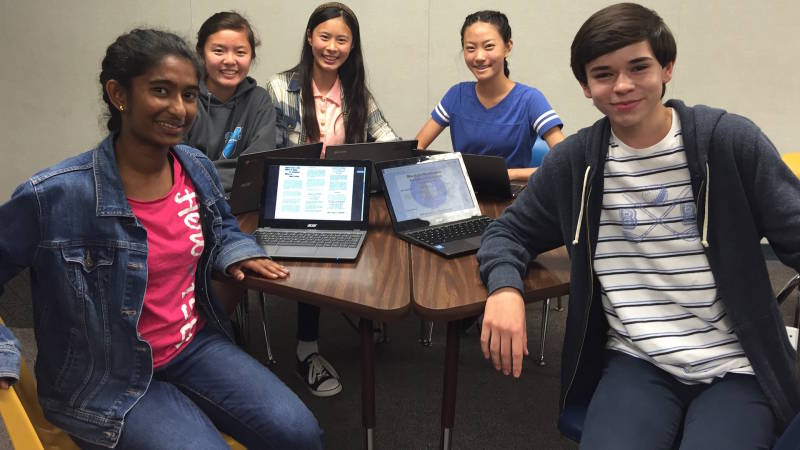
We are starting to see them pop up more frequently in U.S. classrooms: the iPads, the Chromebooks, and the laptops. As more schools move toward using technology in the classroom, we are faced with the question of how to use these devices effectively in our instruction.
Undoubtedly, it’s an exciting time to be an educator. We are no longer limited to just using textbooks or curriculum guides. The number of apps and websites available to us has exploded exponentially in the online educational space. Students are using math apps to brush up on much-needed skills. They can watch science videos that bring concepts to life. With social media, they are able to access the latest news within minutes of the occurrence of an event. However, is that all we wish our students to be able to do, to only become consumers of information?
I believe that students should be using technology to its fullest potential in the classroom. This means that not only should students be using it to access the wealth of information on the Internet but that they also should be using digital tools to create meaningful content.
Cross-Curricular Integration
Though I teach English Language Arts, I believe in integrating other academic content whenever possible. I always try to provide a scientific or historical perspective when the lesson lends itself, and PBS LearningMedia is perfect for this purpose. This fantastic and free online platform has over 100,000 resources available that covers topics from all content areas and grade levels.
For example, my students just finished reading a wide selection of speeches for our rhetoric unit. We studied various speeches for their beauty of language, persuasive elements, and powerful message. One of my favorite speeches from this unit is Martin Luther King, Jr.’s “I Have a Dream.” I want this speech to come to life for my students and for them to also appreciate the historical significance of this time period. Below is my approach to teaching this piece by leveraging digital media resources and Google Drawings.
Lesson Plan for “I Have a Dream”
- Introduce the Civil Right Movement by showing students these media pieces: “The Legacy of the Gettysburg Address” and “Civil Rights and the 1950s | Crash Course US History #39”.
- Students read “I Have a Dream” in groups, stopping to discuss each paragraph and the rhetorical strategies Dr. King used.
- Divide the speech into different sections and have each group create a Padlet to demonstrate their understanding of this piece. Each group must include the following components: a quoted passage, an explanation of the quote, two analysis of the rhetorical strategies used, and proper attribution for any media they included. Here is an example that my students created.
- Students examine the following primary sources provided by PBS LearningMedia: the original pamphlet advertising the 1963 March on Washington, the manual for march participants, and the March on Washington official program
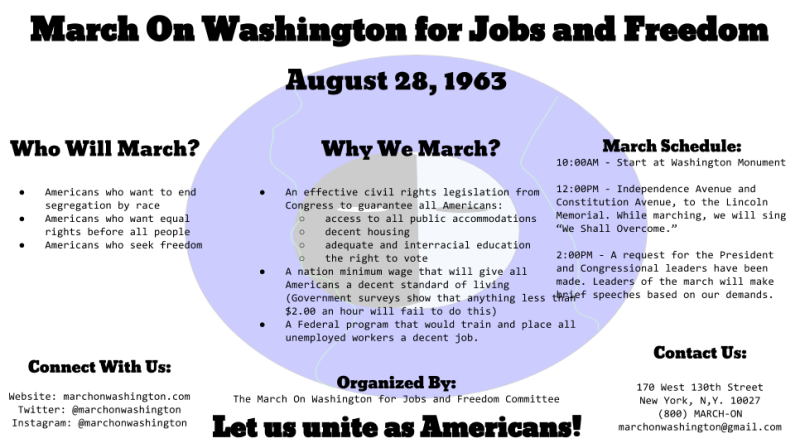
- Based on the information from the three historical documents above, students create a flyer advertising the event. Each group needs to analyze and discern the relevancy of the information from these various resources. They must also create their own original logos for the flyer. Below is an example of one group’s work on this project.
Using Digital Tools for Authentic Assessment
Instead of giving my students a traditional test to assess their comprehension of the significance of the speech and the historical documents they examined, I prefer to have my students express their understanding by creating an authentic product. Because I’m constantly trying to cultivate my students’ creativity and critical thinking skills by emulating the “real world” as much as possible, I also emphasize the importance of artistic design when creating a project. I find that this last step is often overlooked in our instruction. However, in life, how an idea is presented is just as important as the idea itself, and I want my students to realize this.
Let’s Get Them Creating
My students used Padlet and Google Drawings for this particular lesson, but there are also a plethora of other digital tools that students can use to foster their creativity. Below is a list of digital creation tools that are great for the classroom. It is no means an exhaustive list, but many students find them fun and easy-to-use.
- Thinglink makes images and videos interactive
- Canva is easy to use design software with templates for infographics, posters, and more
- Storybird is a beautiful app that inspires writing with art
- Powtoon makes creating animated presentations full of awesome
- Zoodle Comics a comic strip app for the iPad
- Sock Puppets if you love sock puppets…
- Video editing tools (i.e. YouTube Editor, WeVideo)
- Screencasting tools (i.e. Snagit, Screencast-O-Matic, Screencastify, Movenote, Explain Everything)
Which digital tools do your students like to use to show what they know? Please share in the comments below.

