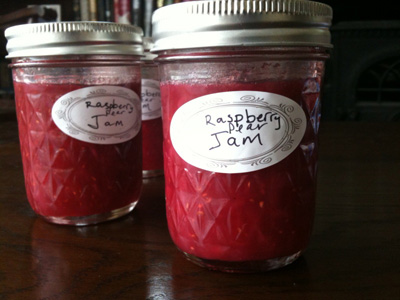
Here were the problems I encountered:
Seeds: The first issue to contend with when cooking with raspberries are the tons of little seeds embedded in the berry's flesh. Although I barely notice them when eating the fruit fresh, they take on the consistency of small pellets that settle between the teeth when preserved. Plus there are literally thousands of them in a bucket of berries.
Watery consistency: My other main problem with making raspberry jam is that this fruit has very little substance, so once you cook it down there is hardly any fleshy pulp to turn into jam. Even after I added some pectin, I ended up with something closer to a thick syrup than a jelly or jam.
Sweetness: My third and final problem with making raspberry jam was the level of sweetness those perfectly-ripe berries imparted. Although I love eating just-picked sweet berries off the vine, they were so sweet that my jam ended up tasting too sweet once I added the sugar.
I ended up overcoming all these problems, and learned a lot along the way. I wish someone had told me how to deal with the mess of seeds, lack of substance, and overtly sweet taste of ripe raspberries in jam before I started, but when I tried to look up these problems in my cookbooks and online, there were very few resources that raised these topics. So, if you're interested in making raspberry jam yourself, read on to learn from my mistakes.
Solutions:
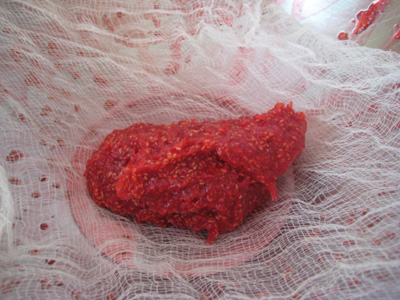
Seeds: To remove the seeds from your jam, press your strained raspberry mixture through some layers of cheese cloth. You will still end up having some seeds in the preserves, but the majority will be removed. To do this, just place layers of cheese cloth in a large bowl and then pour your strained raspberry and sugar mixture into it. Do this before adding your pectin or any other fruit you may add to your jam. Roll your cheese cloth around the raspberry mixture and then press so the raspberry juice and pulp extract through the cloth but most of the seeds stay inside. Massage and press the cheese cloth until most of the pulp and juice is removed. Be sure to wait until the mixture has cooled enough to handle.
Watery consistency: My jam was so watery that a full pack of pectin plus a half of a pear (which is full of natural pectin) wasn't enough to make a firm jam. I therefore reboiled my preserves the next day with two more whole pears (which I peeled, seeded and grated). This gave my jam a fuller texture so it lays on my toast instead of running off it.
Sweetness: My big mistake here was simply adding too much sugar. Although most recipes added an equal amount of sugar to the berries (and some added 1 1/2 times more sugar to the berries), my berries were so sweet and ripe that they needed far less. Next time I will add a 1/2 cup of sugar to a full cup of berries and then taste the jam to determine if I need more. Fixing my overly sweet jam this time, however, ended up being fairly easy. I just added more pears to the mix in the second round of boiling (on day two). The pears natural pectin really helped thicken the consistency and as the jam was already sweet, I refrained from adding more sugar so the tart and sweet flavors ended up balancing out nicely. This brought me closer to the 1/2 cup sugar/1 cup fruit ratio I should have used to begin with.
So now that I've gone through the jam-making trenches, I hope my advice is helpful for anyone out there wanting to make their own jars of homemade raspberry jam. And, although removing the seeds in cheese cloth can make preparing raspberry jam more time intensive than making other preserves, the flavor of ripe raspberries all year is worth it.
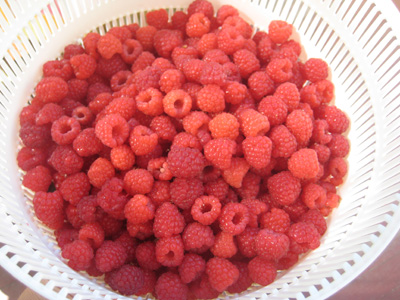
Raspberry and Pear Jam
Makes: 6 jars of jam
Ingredients:
4 cups ripe raspberries
2 1/2 pears (peeled, seeded, and grated)
2 cups sugar (plus more if needed)
1 box fruit pectin
1 Tbsp fresh lemon juice
1/4 cup water
Cheese cloth
Preparation:
1. Place your berries, sugar, lemon juice and water in a pot. Heat fruit on medium high heat until it starts to break down. When mixture has a liquid consistency, lower heat and simmer for five minutes.
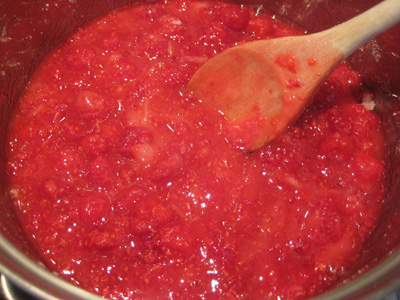
2. Pour raspberry mixture through a fine mesh strainer and into a bowl. Once the juices have poured through the strainer, pour the juice back into your pot.
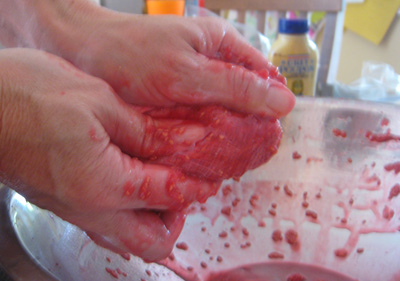
3. Place cheese cloth (around 4 - 5 layers) in the now empty large bowl and set the raspberry pulp and seed from the strainer into it. Wrap cheese cloth around the pulp and seeds until you have a ball. Squeeze out any remaining raspberry juice and then massage the cloth ball to squeeze out as much pulp as possible while trying to keep as many seeds inside as you can. When you have squeezed out all the pulp you can, gently scrape the outside of the cloth to capture the remaining pulp and then discard the cheese cloth. Pour the raspberry juice and pulp into the pot.
4. Add your grated pears to the pot of raspberry juice and pulp and then bring the mixture to a boil for around one minute, stirring constantly so as not to burn the jam on the bottom of the pot.
5. Taste the jam. Add more sugar if needed and then lower heat to simmer.
6. Pour in the pectin and simmer for another five minutes while stirring.
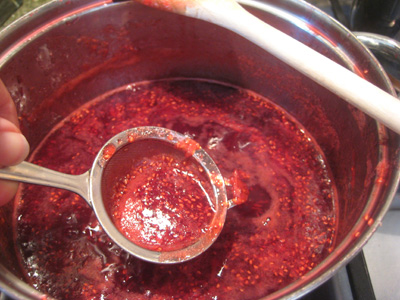
7. Skim out the foam that will form at the top of the jam with slotted spoon or small strainer, picking up some seeds as well if you can.
