upper waypoint

A Week at The San Francisco Baking Institute

Save ArticleSave Article
Failed to save article

Please try again

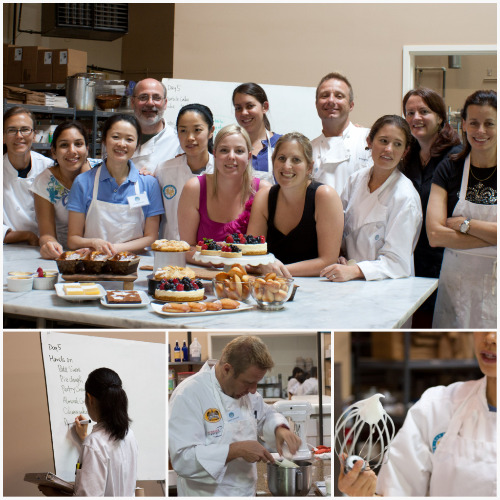
Learning at San Francisco Baking Institute
The Exploring Ingredients Class at San Francisco Baking Institute

Last week was big for me. I took a week off from work, returned very few emails, and my dogs suffered a severe lack of exercise. Why? I spent all week baking eight hours a day at the San Francisco Baking Institute, brushing up on my skills and learning the "how's" and "why's" behind much of the baking I do at home (How exactly can I make this cookie chewier? Why add potato starch here? What effect does pastry flour have on this recipe?). Each day I came home with boxes of treats to share with family, friends, and coworkers along with copious notes and a head spinning with information on technique and method. After spending the weekend debriefing, I thought I'd share the top ten things I learned from my one week in pastry school. Some of the tips here are relatively basic and fundamental, others are a bit more advanced. Each could certainly use its very own post. But sometimes broad coverage is nice--it's just enough to get you inspired to break out a muffin or cake recipe for the coming week. I'd love to hear any of your own baking tips/revelations, too!
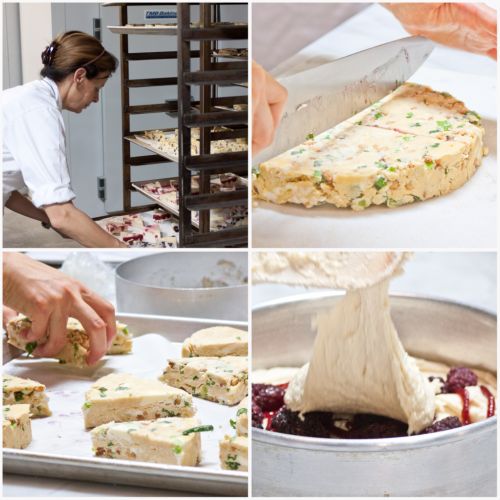
Breakfast Pastries
Making Breakfast Pasties: Day 2

1. Mixing Methods: It's important to understand the different mixing methods when baking. And then to follow them. For example, when using the "Creaming Method" for cookies, you're really just creaming together the sugar and butter until combined. However, when making brownies, you need to integrate a lot of air into your batter when mixing your sugar and butter. This acts as your leavening agent (look at most brownie recipes and you'll notice a lack of chemical leaveners like baking soda or powder). So you'll need to mix on a higher speed for a longer period of time. If you're interested in reading more on mixing methods, The Reluctant Gourmet has done a nice post covering them in more detail.

2. Pay Attention to Your Flours: People use all different kinds of flour in pastry production for a variety of reasons. Cake flour and pastry flour have the lowest amount of protein whereas bread flour and all-purpose flour have the highest. As a general rule, the higher the amount of protein, the more structure the dough will have (think of how many cakes are so light and fluffy while traditional breads are heartier). Once you become familiar with how the various flours change the outcome of your pastries and baked goods, you can begin adapting recipes to create different textures simply by swapping the flours.

3. All About Super-Fine Sugar:
I generally use granulated sugar at home. However, this past week we worked solely with superfine sugar (unless the recipe called for powdered or liquid sugar) and I learned why: superfine sugar melts in moisture more quickly than regular granulated sugar, and is really preferable for fine textured baked goods. Try it--you may just notice a difference.

Sponsored

desserts
From Angel Food Cake to Madelines: A Few of the Desserts

4. Temperature Matters:
Much of what you're doing when mixing various batters is creating a smooth emulsion. We've all made a recipe where the batter turned out a little too chunky or broken looking, haven't we? There are many reasons why this might happen, but the main one is that the ingredients aren't the proper temperature. If you don't have time to bring your eggs up to room temperature, mix them together in a small bowl and microwave them for 20-30 seconds until warm. And for many recipes (not including pie dough, obviously) you want your butter softened but not oily or completely melted. Pay attention to the temperature of your ingredients and you'll have smooth, silky dough more often than not.

5. Take it Slow:
Ah, cakes...a relative cousin to the cookie but with much more moisture. Because of this increased moisture, you'll notice most recipes ask that you alternate between dry and wet ingredients when combining the two together. You don't want to break the emulsion (or bind) between the butter and the eggs or your batter will start to look broken or separated. Slow down. Take your time. If a recipe asks that you alternate between the wet and the dry, there's a reason for that: don't dump your ingredients in all at once.

6. All About Pie Dough: I love making pies and quietly judge people who don't make their own crust. It's just so basic and tastes so much better than boxed pie crust. I was humbled this week though when I learned about the different kinds of pie crusts and why you'd want to choose one over the other depending on your fillings. It would take a few additional posts to cover the different kinds of pie doughs available to you. If you're interested in reading more, I'd check out: The Pie and Pastry Bible by Rose Levy Beranbaum or Joy of Cooking: All About Pies and Tarts by Irma Rombauer and Marion Rombauer Becker. But for now, know that there are flaky and mealy crusts. The basic recipe is the same (a nice butter crust or a butter and lard crust), but a mealy dough is good for cream pies and wet fillings because you're incorporating the butter into the dough more (smaller chunks) thereby creating a coarse almost cornmeal like crust and a tighter dough. A flaky butter crust with large chunks of butter will always absorb more moisture making it much less ideal for cream pies and other wet fillings.

Meringues and Diamond Cookies

7. How Do I Make My Cookie ____ ? So you like your chocolate chip cookie crispy on the outside and chewy on the inside? Or maybe you like a tender, cakey cookie? How do you look at a recipe and alter it to fit your needs? A few good pointers: if you like a crispy cookie, you're looking for a recipe with low moisture and high fat and sugar. If you're looking for more of a soft cookie, the recipe will be lower in sugar and fat with a high moisture content. And if you're a chewy cookie fan, your recipe will call for more moisture and sugar and less fat. It'll also call for a stronger flour with more protein (like bread flour). What does this mean for the home baker? Experiment. If you want a chewy cookie and you're using the typical Toll House Recipe, try bread flour instead and use a bit more sugar. Take notes and compare. With the right information, you can have more control over your recipes.

8. Freezing and Storing: A good rule of thumb on this is to think about the moisture in your product. If there's a lot of moisture in something you've made (custards, lemon bars etc.), you generally want to avoid freezing after baking. Something with low moisture and high fat like a cookie is o.k. to freeze whereas a product with high moisture and lower fat like a soft, crumbly muffin really isn't great to freeze once baked.

9. All About Chilling: Have you noticed lately that many cookie recipes ask you to chill your dough in the freezer before baking? What's going on here? The most likely answer is that chilling decreases the probability that your cookies will spread when baked. Another possbility is one the New York Times stands behind with their infamous Chocolate Chip Cookie recipe: that dough tends to develop flavors when allowed to overnight, resulting in a richer, more buttery/toffee-like dough. Try it. You decide.

Sponsored

10. A Few Tips for Working with Chocolate: People spend years studying chocolate and confections, but for the purposes of home baking and simple pastry production, there are a few good things to know. First, when you're melting chocolate in a double boiler, you always want to cover the bowl that the chocolate's in. The second moisture hits the chocolate mixture, you're going to run the risk of grainy chocolate. Second, don't overheat your mixture. This, too, will create lumps. Last, don't let your bowl actually touch the water. You want space in between the bowl and the water below--this is where steam is trapped and this is what's going to melt your chocolate.

lower waypoint
next waypoint